Showing posts with label binding. Show all posts

Thursday, October 6, 2016

Quarter Round Ombre

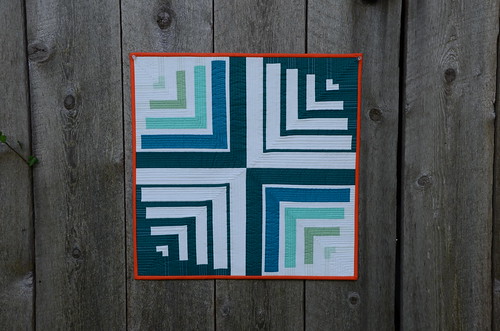
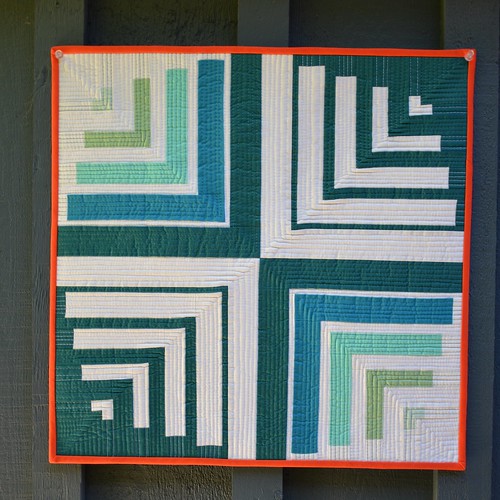
While creating this quilt for the RJR Fabrics What Shade RU blog tour, I did a little test on the ombre idea and made this Quarter Round version.

Quarter Round Ombre by Poppyprint

Like this one, I consulted my colour wheel for binding suggestions and since blue-green loves red-orange, I went for it! It's pretty zingy. I like it.

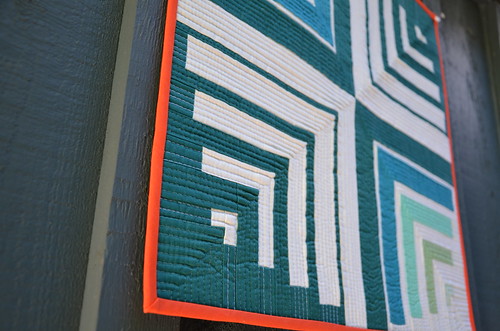
Quarter Round Ombre by Poppyprint

It is quilted with Aurifil 40 wt white and 50 wt teal thread. I'm still trying to decide if the rumours are true and a walking foot isn't necessary when quilting straight lines on the Juki. I tried this one without walking foot and there was some drag, even with the presser foot pressure on the lightest setting. This was spray basted and I stitched the ditch of the horizontal and vertical centre seams to stabilize before I started the closely spaced lines (which I did every third or fourth line, then went back and filled in the spaces between). I think I'm going to stick with using the walking foot in future.

Quarter Round Ombre by Poppyprint

Instructions for both Quarter Round and the larger 16-block Round Peg, Square Hole quilt are included in my pattern available on Craftsy (link up there in the upper right side bar). You'll also find a colouring page in the pattern that you can use to try out  your own colour blocking for secondary patterning.  If you're looking for some patterns to kick off your fall sewing, Craftsy has a promo on at the moment to save $5 on a $25 purchase using code FRESHLOOK25.

If you're celebrating Thanksgiving this weekend, have a wonderful time with family and friends! Pumpkin pie....mmmmmmm.

Monday, September 14, 2015

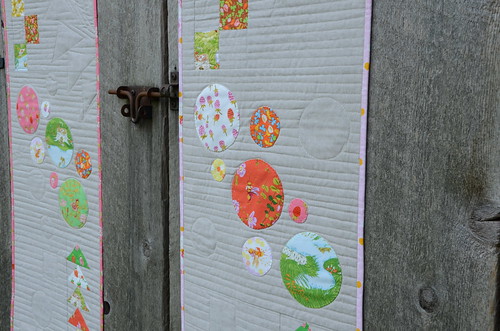
Stepping Stones Table Runner Samples & Teaching

This fall is very busy with trunk shows!  I'm having a great time visiting many local guilds sharing the projects from Make It, Take It with traditional and modern quilters alike.  The table runner that I pieced for the book was quilted by Krista Withers, so after Quilt Market and my spring trunk shows I sent her that one because I knew she loved it and well, she's awesome so she should have it!  I needed to make another and why make one when you can make two?!

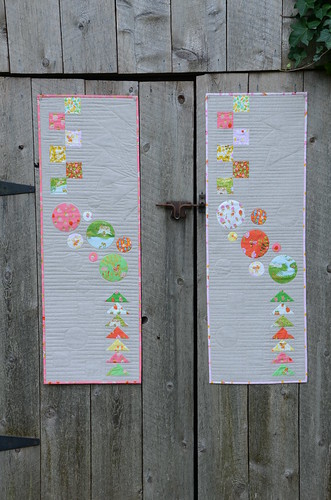
Stepping Stones Table Runners by Poppyprint

The combination of Essex linen and Briar Rose used in the original runner was just too sweet to pass up, so I kept everything pretty much the same when I made these two new ones. The runner sews up quickly - it is so fun to make!  I was anxious to try straight line quilting using Krista's Ghost Shape Quilting instructions in the book. PLUS, I treated myself to a new Juki TL2010Q over the summer and I figured this would be the perfect small project to give it a go.

Stepping Stones Table Runners by Poppyprint

Stepping Stones Table Runners by Poppyprint

Unfortunately, the walking foot that came with my machine was a dud and I was unable to use it. After some online research and an S.O.S. call on Instagram, I was advised by several other Juki users to just go for it and quilt using the regular sewing foot with the presser foot pressure turned right down to the lowest setting (in other words, almost no pressure on the foot). Walking foot be damned!  (Note: my dealer arranged for an immediate replacement walking foot to be sent directly from Juki and I have received it, but not yet tried it).

Stepping Stones Table Runners by Poppyprint
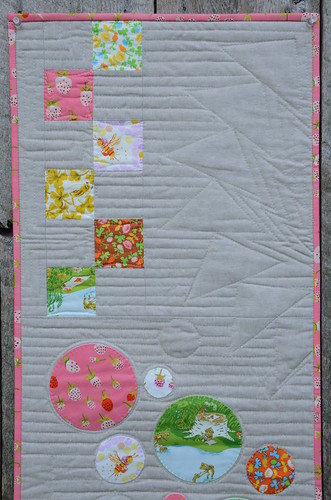
The circles are machine appliqued using my "Fabric Stickers" method described in my Crop Circles Table Runner tutorial on the left sidebar. I used a shortened & narrowed blind hem stitch to secure them to the quilt top.

The results were pretty darn good considering I didn't use a walking foot. Some of the straight seams show signs of drag, but I can live with that. On the second one, I stabilized those longer seams between blocks and beside the pieced sections with stitch in the ditch.  Ultimately, I'm just picky and would prefer longarm results with a home machine, which just isn't going to happen. I'm trying to lighten up and find satisfaction in a job done the best that I can do with the equipment that I have.

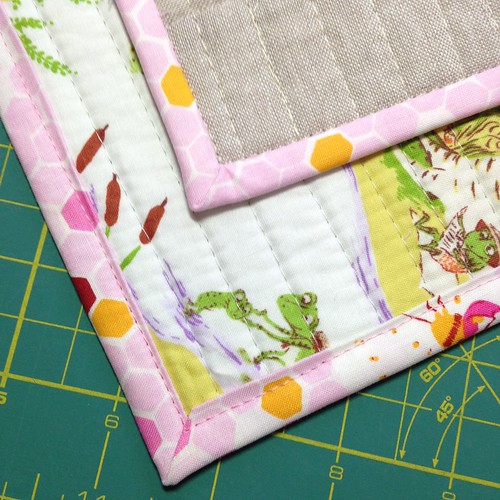
Machine binding on my Juki

Where the Juki totally rocked was the binding. I applied my regular 2 1/4" double fold binding to the front of the runners, then pressed it to the back, mitering the corners. Using Roxanne's Glue-Baste-It and a dry iron, I basted the binding to the back.  Then, still using the regular sewing foot I slowly and carefully stitched in the ditch from the front. The machine performed beautifully, even with the uneven thickness of fabrics under the foot (6 layers of binding fabric plus quilt sandwich under the right side of the foot and only the quilt sandwich under the left side of the foot).  With my Pfaff, the snap-on "stitch in the ditch foot" regular popped off when I tried to do this.

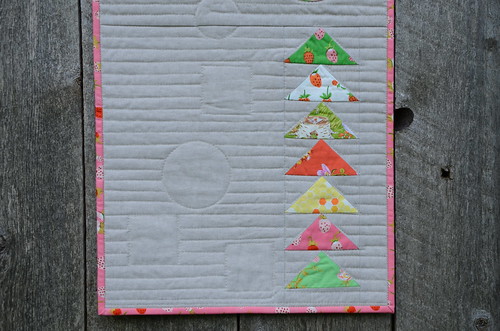
I'll be keeping one of these runners for my trunk shows (two more this week!) and gifting the other one soon. If you are a quilting teacher, I highly recommend this project as a complete beginner quilting class that includes: rotary cutting techniques, accurate piecing, flying geese construction, machine applique, quilt basting, marking & straight line quilting and binding.  Check out the copyright statement in Make It, Take It - as long as your students each have a copy of the book, you're welcome to teach any of the projects. Please do!

Tuesday, June 30, 2015

Pink45

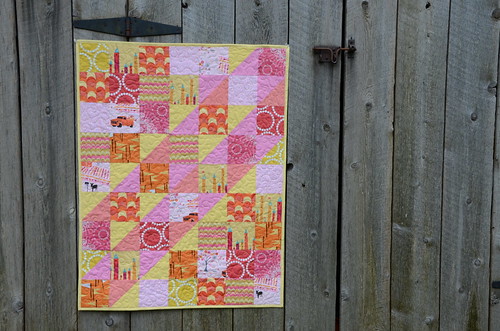
Over 18 months ago I put this little baby quilt together at retreat just for fun. I had some leftover HST's from another project, so I grabbed some coordinating yellow, pink and orange stash fabrics to cut into charm squares.  Along with the perfect flannel backing, I folded the quilt top over a hanger where it's been resting comfortably for all that time just waiting for a baby girl.

Pink45 by Poppyprint
Pink45 measures 31 x 40. Perfect for baby rolling over practice on the floor.

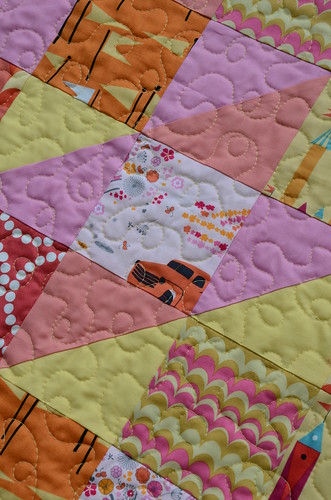
When I heard the news that my neighbour's daughter was expecting a girl, I was super happy (and did some patting myself on the back) that this little number was ready to go.  Naturally, I waited until the recent Vancouver heat wave to quilt it. Luckily, it didn't take very long...I'm super fast at this loopy swirl and it is my go-to all over FMQ pattern when I'm in a time crunch.  The baby is coming to visit from California later this week!

Pink45 by Poppyprint
Quilted with Aurifil 40wt yellow 2115

It definitely makes me shake my head that I'm gifting a baby quilt to our former baby-sitter's baby!! She's a welcome first grandchild and I hope she uses this cosy quilt right up to the last threads.  Because it is always my wish that baby quilts will be loved, washed and loved some more, I usually attach the binding by machine so that it is extra sturdy.  In this case, I sewed it on back to front and completed the stitching with my Pfaff topstitch foot (which I LOVE!). It has a fence right in the middle of the foot that you can snug up to the fabric edge, and a wide needle opening so that you can move the needle over a few ticks to the left or right of centre (depending on what side of the fence needs the stitching). You can see what you're doing and it's a breeze to get a nice, straight topstitch line.

 Pink45 by Poppyprint
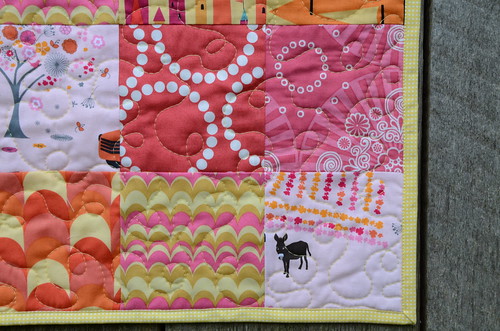
Donkey from Violet Craft's sweet Madrona Road line. Also pictures is some Lizzy House Castle Peeps & Pearl Bracelets and Happy Zombie Happy Mochi Yum Yum.

Thursday, March 19, 2015

Small Studies

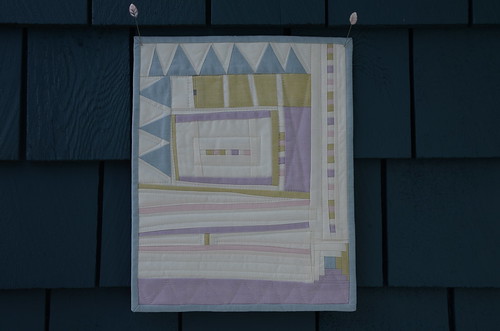
I completed the two small studies that I made with Gwen. I love them! They are a sweet little sewn diary of the two days I spent with her. Each one records the techniques she shared with us.

Small Studies by Poppyprint

I began sewing on the first day by preparing tiny blocks and units of piecing that demonstrated Gwen's small study techniques. On the second day, I realized that I really had two compositions in progress; one with a predominantly grey background and one with a white background.  I decided to sew a few more units and complete two separate studies.  

Small Studies by Poppyprint

As per Gwen's 37 Sketches examples, they are bound with a single fold binding, cut at 1 1/4". I had a look at Kerry's tutorial since I haven't applied a single fold binding in ages. They are fiddly, but for a piece not much larger than a piece of paper, a double-fold is just too much edge.  I quilted them in about 15 minutes each, just with unplanned straight line/walking foot sewing wherever I felt like going. Now, that's liberating!

Here are the little technique sections (mostly all sewn with nothing wider than a 3/4" strip):

Small Studies by Poppyprint
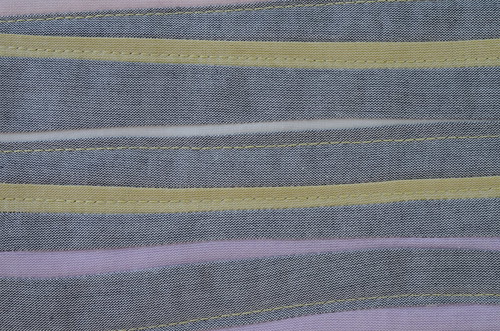
inset skinny strips

Small Studies by Poppyprint
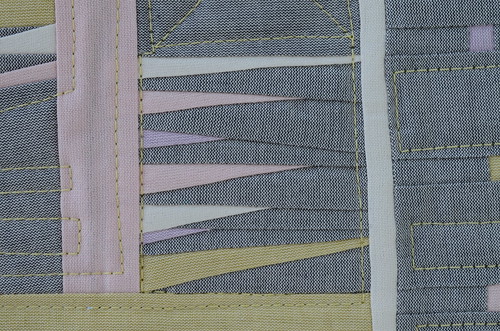
wonky spikes

Small Studies by Poppyprint
pieced inset skinny strip

Small Studies by Poppyprint
tiny log cabin

On both pieces you can see the wonky/improv equilateral triangles (which take some concentration!) and on the bottom right side of the grey piece you'll see inset tiny squares that Gwen likes, too.  All of the fabric is the new shot-with-white Scandinavia line from Oakshott.  I'm so happy I brought my little fat quarter stack along to the workshops. The limited palette allowed me to forget about having to choose the right colours and just focus on the process.  Plus, I was able to create two small but beautiful quilts with tiny pieces of very precious fabric.

Modern Quilt Guild members: RUN, don't walk, when the sign ups open for Gwen's QuiltCon 2015 workshops in Pasadena!! You'll not experience a more uplifting, generous, kind and experienced quilting teacher. Pinky swear.


Friday, August 29, 2014

Uhm, You Missed a Spot

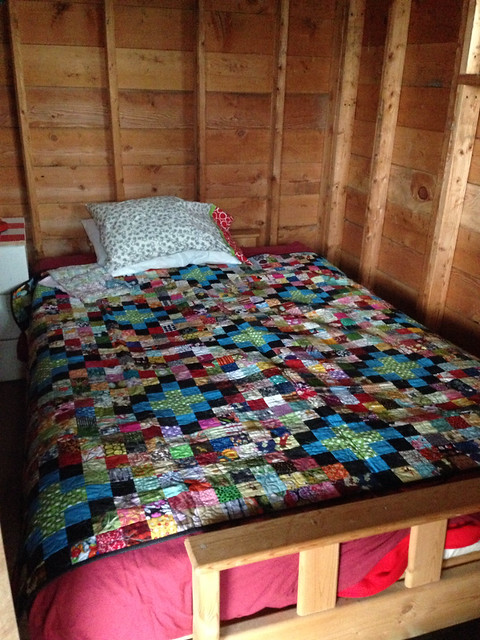
A couple of weeks ago I had the pleasure of visiting Thormanby Island again. My generous friend A invited our little gang of island-hopping quilters that usually descend on Mayne Island every February for a retreat. As you can imagine, our February weekends are almost always spent indoors, enjoying the cozy sewing room while buckets of cold winter rain fall outside.  Let me just say that our August weekend together had 90% more sunshine and about 20 degrees of Celcius more to enjoy (as an August weekend should!).

image
The perfect cabin quilt!

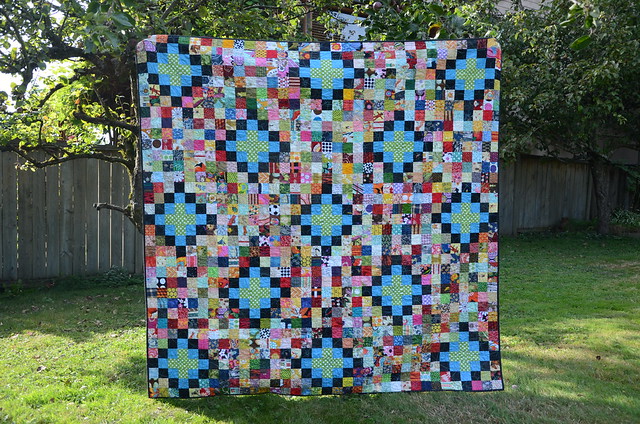
It stood to reason that I should bring along my almost finished scrap vomit quilt - which, by the way, I will now refer to as the Scrapalicious quilt. This quilt has been over a year and a half in the making (actually I've pieced two of these tops and have enough squares cut to make a few more!).

  • Katy's fab tutorial for the quilt is here
  • See my Anti-Voodoo piecing tutorial for making sure your squares make it from the design wall to the machine in the right order using a method I learned years ago from a favourite quilting teacher. This works for efficiently piecing blocks into a quilt top as well.
  • A post including a pic of the second top I've pieced with different coloured "B" blocks is here 
Back in February I'd finished the quilting and attached the binding while on Mayne.  As I do with all large quilt bindings, I pressed the binding to the back and temporarily secured it with tiny dots of Roxanne's Glue-Baste-It.  Hand-sewing the binding has been a hit and miss 'whenever I feel like it' activity for months and it needed to just. get. done. I figured if I brought the quilt along to sleep under, I could finish off the binding in the daylight hours while sitting on the sunny deck. Which I did. Wearing a bikini. OMG. That's all I'm saying about that.

Scrapalicious by Poppyprint

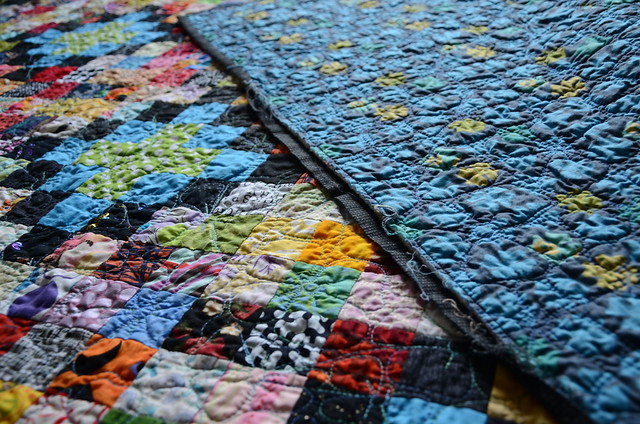
And then I came home and washed the quilt. When I pulled it from the washer and saw batting and frayed thread, I had a momentary coronary event thinking that something had ripped the quilt, until my brain registered that, in fact, I had missed sewing down about 20" of binding!!! So, yeah, I missed a spot. Oops.

Scrapalicious by Poppyprint
Scrapalicious: the Full Frontal

So, although you've seen several iterations of this quilt from blocks, to top, to quilted top, now it is finally complete, washed and folded on the back of our family room couch for everyone to enjoy.  Even this little gnomey.

Scrapalicious by Poppyprint

I free-motion quilted it in an all-over interlocking flower pattern that I learned last year in a FMQ class with local teacher Lynne Fanthorpe.  I had so much difficulty with the Sulky 40wt thread I was using - it was breaking constantly and driving me mental with stopping/starting and burying threads. I finally had to abandon it from frustration but when I resumed quilting at Mayne my friends helped me discover that the variegated spool I was using was simply 'bad thread'. It broke with a gentle tug! I had pulled my hair out and came very close to tears thinking that my machine, the tension, the batting, the many needles I tried, or my skills were to blame. I've never experienced bad thread before. Luckily, I had a second spool of the exact same brand and colour variegation that I purchased on the same day as the offensive spool. The second one worked PERFECTLY FINE. Bizarre. 

Next time I'm sticking with Aurifil thread and less involved quilting. I'll also do a more careful check of the binding before my quilt gets its first wash!

Scrapalicious by Poppyprint

Friday, December 20, 2013

Winner, winner, Christmas dinner!

I felt so lucky (and for a moment, a little guilty) for winning the block lotto at my annual November retreat last month. I've been running this retreat for 8 years and never won, so I guess it was bound to happen. Can I just say how happy I am that it was this year? Happy, happy, happy!  Katy's Christmas scrappy trip inspired me to set the Scrappy Trip Around the World block as this year's lotto - it's a super quick make and everyone's got holiday fabric to use up!


Although I'd been sewing with my pals for 4 days non-stop, I returned home Monday night and put the blocks right up on my design wall. There were 30 blocks, so a 5 x 6 layout made the most sense. The odd number across the quilt meant I couldn't use the 'normal' diamond setting. As much as I love this block, I didn't really feel like making 6 more - I just wanted to get this thing together in time for Christmas! Using the strong diagonal reds, I opted for zigzags.


I busted out the wiggly stitch on my Pfaff for diagonal quilting lines through every second square. The wiggly stitch is excellent for diagnonal lines on a quilt with 2" squares because you don't have to mark the quilting lines!  Just aim for the corners of each square and you're all set. The wiggly line doesn't have to hit the corners dead on like you'd want to do with straight-line stitching.


I considered a flannel backing, but also had yardage of this super soft Kaffe Fasset shot cotton in green that's been lying around for years. Using up stash won over buying new flannel and I framed in this extra block with some Kona red so that there's a sweet little present on the back. The binding is a sweet candy cane stripe that was printed on the bias that I've been saving for just this kind of quilt (JOY by Kate Spain for Moda).


All washed and cuddly and keeping us warm on the couch!

Friday, February 15, 2013

A coordinating pillow, you say?

So SIL is enjoying sleeping under her Brrr! Made in Cherry quilt. It never made it to the spare bed, apparently. Just a day after taking it home, I received an email letting me know how great it looked (with photo), but that "all I need now is some matching pillows".

Brrr! half square pillow by Poppyprint

I happened to have all of my scrap triangles from making the quilt so I put them together with a few solids for an easy peasy 1/2 square triangle pillow top. Because I do what I'm told (usually).

Brrr! half-square pillow by Poppyprint

I quilted the pillow front to some fusible Pellon fleece with diagonal lines 1/4" away from the seams.  The backing is made from some of the larger pieces that remained on my FQ shelf and I joined them with a hidden zipper flap.

Brrr! half-square pillow back by Poppyprint

Binding by machine: the front by Poppyprint

Binding by machine: the back by Poppyprint

The binding is also leftover from the quilt; I cut an entire yard of the stripe print on the bias, so I have miles of it. It's machine sewn to the back.  First I sewed it to the front of the pillow with a 1/4" seam allowance as you would for a quilt, then pressed it to the back and secured it with Roxanne's Glue-Baste It (carefully mitering the corners). Then, using my Pfaff's stitch in the ditch foot which has a metal fence right smack dab in the middle of the foot, I sewed along the front of the pillow in the ditch of the pillow/binding seam. You can see the front and back above.  I've tried doing this just using pins to hold the binding in place, but I always end up missing sections on the back. The glue just keeps it all snug and more accurate for me.  There are a lot of tutorials around blogland if you need more details on attaching binding by machine, just Google it.

I gave the pillow to my SIL for Valentines yesterday and I think she likes it. Watch the comments to find out : )

Wednesday, September 12, 2012

Baby Hourglass

My fall has started with a long list of projects. How did this happen? Even when I think I'm all caught up, suddenly I find a list of 8 things that need my attention. Although the recipient of this baby quilt isn't due to meet his or her mommy, daddy and big brother until the end of November, I thought it best to get this commission done to avoid any last minute pressure. Plus, you know how these things go, it would be just my luck the baby would arrive way early and I'd be caught with my rotary cutter in my hand, so to speak!

Here's Baby Hourglass. This is a companion quilt for the same family I made this vintage-look quilt for almost two years ago.

Baby Hourglass by Poppyprint

The momma-to-be chose Lily & Will by Moda and Penelope Four by Lakehouse Drygoods (in marshmellow) as coordinating fabric lines.  Both fat quarter packs were purchased from the Fat Quarter Shop. The baby's gender is unknown and we both feel there is enough blue, enough flowers and enough pink with a hint of green to satisfy either a boy or girl while keeping with the 'vintage' appearance.

Baby Hourglass by Poppyprint
The baby's 3 initials will be embroidered in the corner block once we know what they are!

Baby Hourglass by Poppyprint
I pieced the back from left over FQ pieces

The quilt finished up at 36" x 42" and I am happy to say that I was just able to make it all the way around with a bias binding made from one FQ of the blue plaid. Such a perfect binding.

Baby Hourglass by Poppyprint

The quilt is on it's way home as I type and I'm ready to get going on a few more small commitments (thread catchers and passport holders) before tackling a new quilt project.

Friday, October 28, 2011

Bloggers Quilt Festival Fall 2011

Hi there! Welcome to Poppyprint if you are clicking your way through the Bloggers Quilt Festival listings. Here is my favourite autumn quilt, which is hanging on my office door for the season.

Autumn Dyes

I first saw a photo in Quilter's World Magazine of this wallhanging by Ellen Stuckey (I believe she's from Indiana, but I can't find a blog or website for her). I hung on to a colour photocopy of it for several years and finally found the perfect fabric. All of it was hand dyed by my friend Kathy, except for a few of the lighter fabrics, which are batik.

Autumn Dyes leaf3

This entire quilt is free cut with scissors, no rulers or rotary blades. I pieced it on my annual November retreat a few years ago and made a massive mess of my work table and the floor around me! Free-piecing can be pretty wasteful, but all of the scraps were so beautiful I saved them for other, tiny projects. The quilt is not bound in the traditional way, but with a facing instead. I really liked the way Ellen had defined the two panels with an asymmetric top and bottom edge -it's a unique quilt finish.

Autumn Dyes leaf2

I had a lot of fun with the quilting; using different thread colours, some free motion in the leaves themselves, but mostly straight line quilting with a walking foot on. In some cases, I used the quilting to define more leaves, like the one pictured below.

Autmn dyes quilted leaf

If you are not a regular Poppyprint reader, you may be interested in my recent free-cut project that I just made earlier this week in a workshop with the Quilters of Gee's Bend, Alabama. You can read about it here!

Thank you so much for stopping by. Be sure to visit Amy's Creative Side for a complete listing of participating blogs and check out all of the other amazing quilts in this Festival by clicking on the button below!


Amy'sCreativeSide

Thursday, April 7, 2011

A spring finish!

Here it is! My raffle quilt is complete after a marathon quilting session yesterday.

Raffle quilt complete!

I totally copied Katy's quilt along sample and quilted horizontal lines with my Pfaff's wavy stitch. I didn't quilt as densely as she did as my thread supply for the bobbin (to match the back of the quilt) was running too low to risk it. This quilt had to be complete for our fund raising event tomorrow night. I managed to spread the quilting evenly with a row along each sashing seam and two rows through each row of squares.

Raffle quilt wavy quilting

Now I'm trying to decide if I should wash and dry it prior to the event. What do you think? Would the crinkly look appeal to the non-quilting public, or should I keep it crisp-looking? (fellow teammates, Di, Jo, Andrea, Marsha, Rebecca, please advise!).

I always label quilts that leave my home. Admittedly, I'm less reliable on labeling quilts staying with us because I always think 'ahh, I'll do that later'. I once read an article by a quilt appraiser who said it is important to 'quilt the label in' for security (i.e. harder to remove label in the case of *gasp* quilt theft - which does happen, sadly). I often plan to do this, but then the excitement of sandwiching and getting on with the quilting causes my brains to fall out and I forget.

Not this time. Look at me go! I sewed the label to the backing using my machine's blanket stitch and then quilted right through that sucker. I also finished the binding by machine. I love hand stitching my bindings to the back, but 20 minutes vs 4 hours was a no-brainer this time around.

Raffle quilt label

I'm so happy this quilt is done. It's been pieced since mid-November (see, I always stall after the top is pieced!!), so it was about time to quilter-up and finish the job. I am a woman in need of deadlines.

To make your own jelly roll quilt, visit Fat Quarterly and look under 'tutorials'.

Wednesday, September 29, 2010

It's never too early

....for Christmas gifts. But if this is pushing your envelope, I apologize. Avert your eyes and come back to this post in 6 weeks, or so.

Oh Joyful Christmas tree skirt

This sweet tree skirt was designed by Carol - she calls the pattern"Oh Joyful" Tree Skirt, and it was a joy to make, actually. When I asked Carol's permission to teach it as a workshop for my guild she was very happy (and even said she'd kiss me, so if I'm ever in Wisconson, pucker up pal!).

poppyprint fabric in tree skirt

Along with the patterns, Carol generously shared some strips of her nice bright reds and clear greens with me because they were difficult to find in the LQS's in June when I was collecting for this project. I was really excited to put a piece of my poppy-printed fabric in there, too. I pieced the entire top in two afternoons at the cottage this summer - it went together really fast and easy.

tree skirt ties

The only modification I made to the pattern was to make an extra 40" of bias binding (in the workshop, I'll teach the continuous bias binding "barrel" technique). I used this extra length to make two sets of ties that were attached with the binding.

fav tree
This is my favourite tree - that wee bit of pink is so cute!

Applying the binding is a little tricky, but totally achievable with care. The scallops are rather pronounced, so you've got to make sure there is enough bulk to your binding on those inside corners so that it will pleat nicely and wrap around the the back.

inside corner tree skirt

Here's how I did it while attaching the binding by machine to the front of the quilt: about an inch from the inside corner, where two skirt sections were seamed together, I stopped with my needle down. I then folded the binding and made a crease in it exactly on top of the tree skirt seam. Then, 1/4" in from the raw edge of the binding, I made a dot with a pencil on the binding. When my needle reached that dot (in other words, it is now right on the tree skirt seam, 1/4" in from the corner), I stopped again with my needle down, lifted the presser foot and pivoted the whole works, gently coaxing the binding towards me so that it now lays along the new scalloped edge. I'm not sure if I've explained this clearly enough, but if you do make this pattern, or another one with a pronounced scallop, let me know and I will happily help you through it!

My tree skirt is not quite complete yet. I've ordered beautiful star-shaped ceramic buttons from an artisan here in B.C. They will look perfect atop every tree! Then, that will be one Christmas gift done (my sister already knows it's coming to her family....I asked if she liked it first, before I started!).

Have you started making holiday gifts yet?