Showing posts with label FMQ. Show all posts

Friday, July 28, 2017

Pop Stars - A New Quilt and Giveaway

In case you're all thinking that all I do in July is celebrate my birthday, I've got news for you. I've been working on a new project for RJR Fabrics' What Shade R U bloghop. You can read all about it on the RJR Quilt With Love blog here.  There's lots to know, so check out my guest post over there because there's a HUGE giveaway involved.

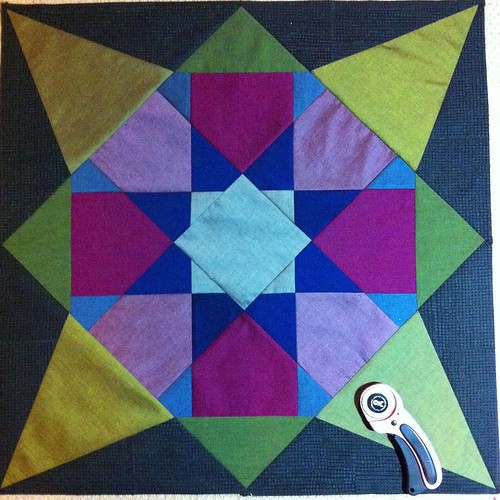
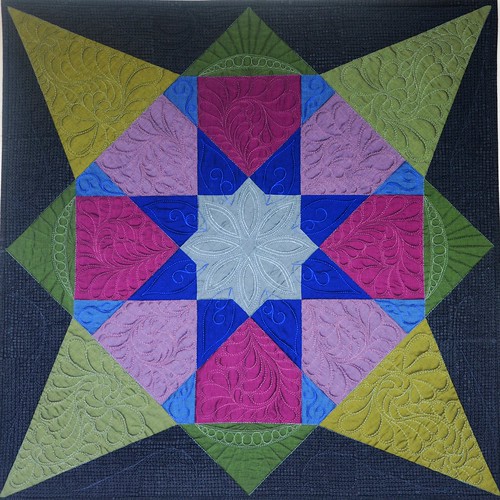
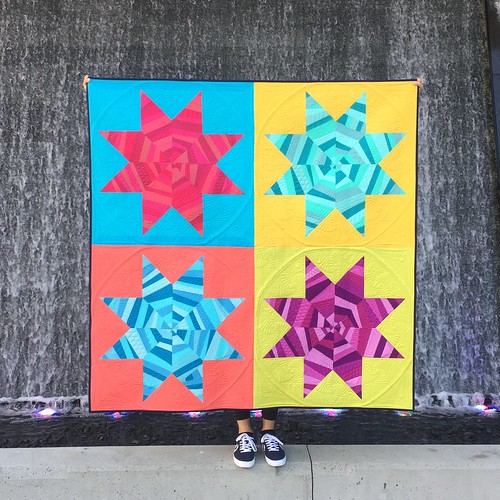
I can't resist sharing here because staring at this photo just makes me happy. I've wanted to make an 8-pointed star quilt for ages and finally figured out that I could use my Improv Under the Influence piecing technique to build the star diamonds. It's a riot of split complimentary colours and the outstanding quilting by Carol of Twin Creek Quilts is jaw-dropping. It's so much fun to look at!

Pop Stars by Poppyprint, quilted by Twincreekquilts

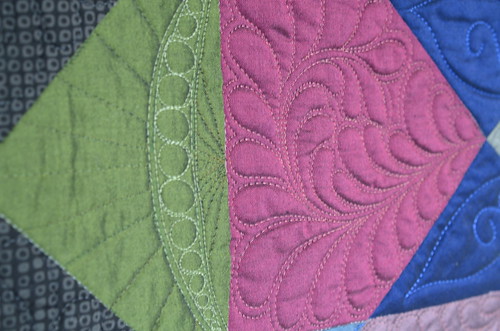
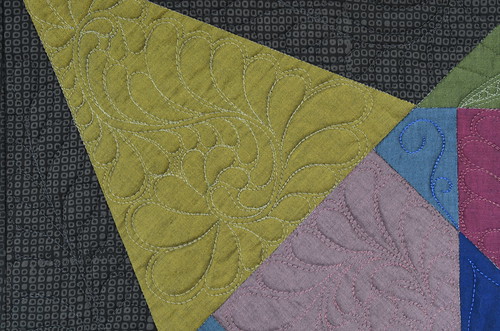
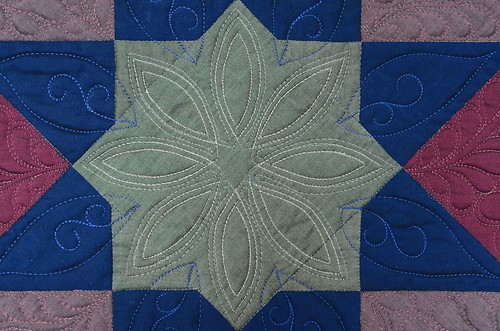
There are lots of close-up detail pictures in the main blogpost and you'll be able to see how I avoided y-seams in the construction of this quilt, so check it out!

**GIVEAWAY ON INSTAGRAM** Keep an eye on the @rjrfabrics IG account for a full FQ bundle giveaway of every colour of Supreme Cotton Solids (25 of them) I used in this quilt. Over 6 yards of fabric! Woohoo!

Friday, May 20, 2016

All the Acronyms

So, recently I took an advanced FMQ class with the VMQG and made a QAYG baby playmat with the results.

I like to take Free Motion Quilting classes every couple of years just to work up my mojo and build confidence while trying new designs. There are so many great books, classes and teachers out there to learn from.  This class was taught by fellow Vancouver Modern Quilt Guild member Stacey Murton (hushrules on IG). She recently learned from some of the best modern quilters at QuiltCon and brought back some of her new found knowledge to share.

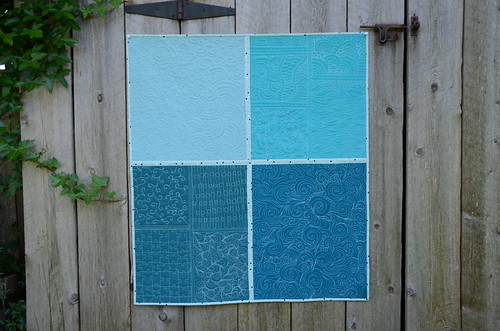
FMQ practice by Poppyprint

Ideas for free motion designs are endless, but it is always a good idea to start at the beginning and get into the flow with some simple swirly, loopy, meandering lines. While I regularly revert to my safe swirly stipple for a quick finish, one day I'd like to take more time with a special quilt and custom FMQ elements of it with individual motifs. It is wonderful that authors Christa Watson and Christina Cameli are supporting those of us working on domestic machines!

FMQ practice by Poppyprint

FMQ practice by Poppyprint

FMQ practice by Poppyprint

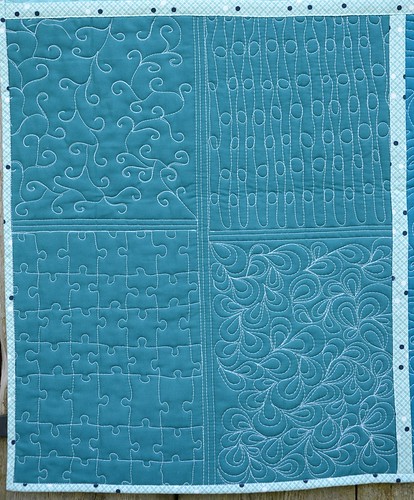
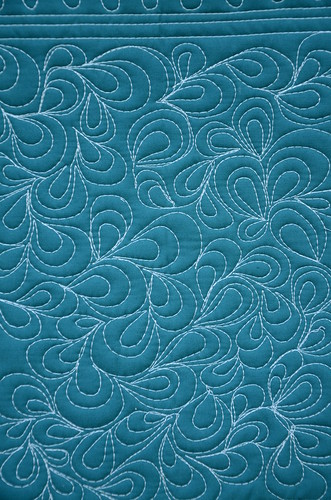
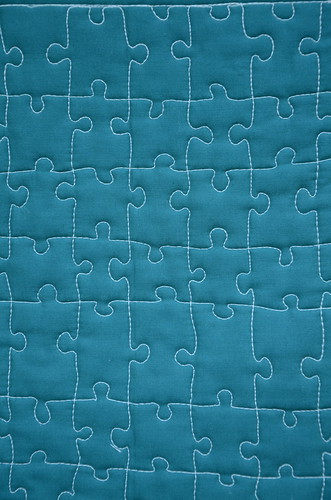
Some of these designs came from Stacey's class handouts (overlapping whorls, swirls + hooks, water and pebbles seen above), while the ones you see below came from Christina Camelli's book First Steps to Free Motion Quilting (puzzle pieces, interlocking circles & lines, tendrils and mussel shell thingies seen below).  I didn't mark anything on these practice sandwiches, I just started quilting. I think that with something like the puzzle pieces and interlocking circles & lines on a real quilting job, I would use a hera marker and ruler to lay out a grid of lines to follow in order to keep things fairly uniform and parallel.

FMQ practice by Poppyprint

FMQ practice by Poppyprint

FMQ practice by Poppyprint

I like medium sized motifs, like the swirls and mussel shell and paisley flower shapes. I find it more difficult to work smaller, as with tiny pebbles. Stacey suggested drawing pebbles like figure 8's but when I tried that it was tough to stay circular - mine ended up looking like tear drops. More practice required!  I thought the tendril/vine one would be super hard since backtracking with a darning foot is rather daunting for me, but turns out it wasn't too bad after all. 

Having the new Juki TL-2010Q has been a major help for me.  The machine purrs along beautifully and I do not have any difficulty with tension or thread breakage. The fairly low extension table is a bonus as well. I keep my speed in the middle range of the machine's tortoise to hare scale and actually move my quilt fairly slowly. I learned to do this from Christina's Craftsy class  "Free Motion Quilting Essentials" which is on sale for $24.60 Cdn* until Saturday.  I must say, slowing everything down helps to keep my shoulders more relaxed and I have more control over motif shapes and stitch length (no more 1/4" long stitches on curves!).

I didn't do all of this work in the class - these are fairly big FQ sized sandwiches. I completed two of the four while on retreat the week after class. After trimming them up, I joined them together using Marianne's tutorial here.  I've sent this off with some VMQG members to display and possibly be our raffle prize at Vancouver's Mini Maker Faire, June 11-12.

*I'm a Craftsy affiliate, which means if you click on the link and end up purchasing a class, I will receive a small commission. I promise to think of you when I buy my next latte.

Tuesday, June 30, 2015

Pink45

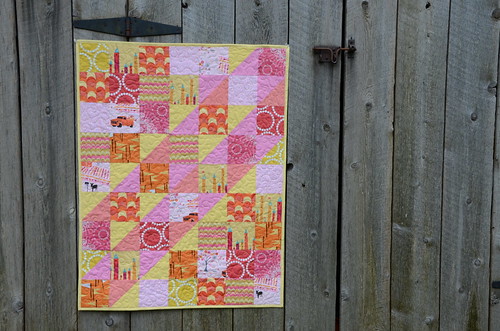
Over 18 months ago I put this little baby quilt together at retreat just for fun. I had some leftover HST's from another project, so I grabbed some coordinating yellow, pink and orange stash fabrics to cut into charm squares.  Along with the perfect flannel backing, I folded the quilt top over a hanger where it's been resting comfortably for all that time just waiting for a baby girl.

Pink45 by Poppyprint
Pink45 measures 31 x 40. Perfect for baby rolling over practice on the floor.

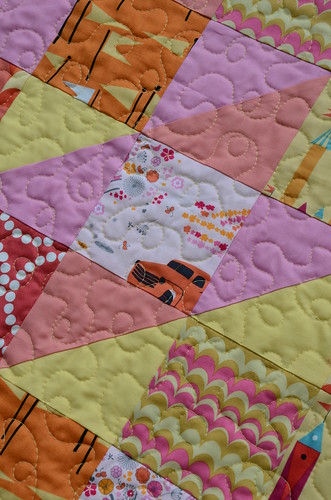
When I heard the news that my neighbour's daughter was expecting a girl, I was super happy (and did some patting myself on the back) that this little number was ready to go.  Naturally, I waited until the recent Vancouver heat wave to quilt it. Luckily, it didn't take very long...I'm super fast at this loopy swirl and it is my go-to all over FMQ pattern when I'm in a time crunch.  The baby is coming to visit from California later this week!

Pink45 by Poppyprint
Quilted with Aurifil 40wt yellow 2115

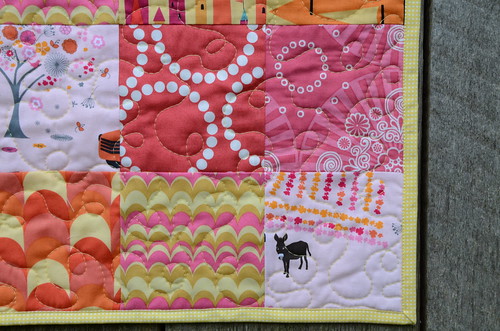
It definitely makes me shake my head that I'm gifting a baby quilt to our former baby-sitter's baby!! She's a welcome first grandchild and I hope she uses this cosy quilt right up to the last threads.  Because it is always my wish that baby quilts will be loved, washed and loved some more, I usually attach the binding by machine so that it is extra sturdy.  In this case, I sewed it on back to front and completed the stitching with my Pfaff topstitch foot (which I LOVE!). It has a fence right in the middle of the foot that you can snug up to the fabric edge, and a wide needle opening so that you can move the needle over a few ticks to the left or right of centre (depending on what side of the fence needs the stitching). You can see what you're doing and it's a breeze to get a nice, straight topstitch line.

 Pink45 by Poppyprint
Donkey from Violet Craft's sweet Madrona Road line. Also pictures is some Lizzy House Castle Peeps & Pearl Bracelets and Happy Zombie Happy Mochi Yum Yum.

Monday, April 27, 2015

Macarons in Spring Bloom

Hello and welcome to the Spring Bloom Blog Hop!! I've only just met Amanda Caronia, the talented designer behind Spring Bloom, but already I know she's going to make a splash in fabric design. Her bright, colourful and fresh palette are a welcome sight for spring.  Read on to find out how you could win a FQ stack of Spring Bloom to play with!

Spring Bloom Macarons by Poppyprint

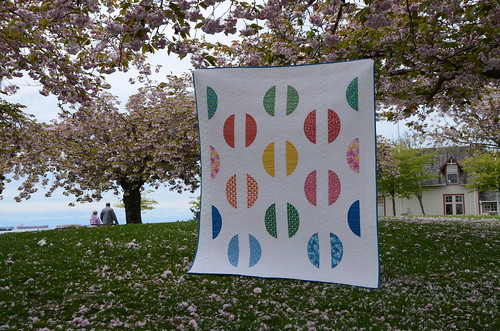
In my quest to make every contributor's project in my book, I decided to sew up a delicious Macaron Quilt with Amanda's fabric. Christina's quilt design is really interesting; there are no blocks in this quilt. The macaron shapes are pieced right into a long strip of background fabric that has been cut like a hunk of swiss cheese. Once all the cutting prep was complete, I could not believe how fast this generous lap-sized quilt sewed up!  I didn't pin any of the curves. I don't do tons of curved piecing, but when I do, I follow this awesome video tutorial by my friend Leanne. It works like a charm for 1/4 circles and these 1/2 oval macaron shapes.

Spring Bloom fabrics by Amanda Coronia for Windham

As my deadline for today was approaching, I needed to figure out quilting designs. I considered vertical wavy lines right across the quilt using my machine's triple zig zag stitch set wide and long. I considered an art-deco pattern that was a combination of straight lines up the middle of the macarons and curved back down around them, echoing the shapes in thread colours that matched the fabrics. Finally, I considered FMQ my recent standard of all-over looping meanders.  Then I had a little chat with myself that turned into a pep talk ( I'd been convincing myself I wasn't able to do all that negative space justice with my out-of-practice FMQ skills).

I had another look at Amanda's fabric to see if there were some shapes I could adopt for quilting. I grabbed some old practice quilt sandwiches from a previous class (and said, hey, you did a great job on these practice designs, just get busy and go for it!). Seriously, I did have to pull on my big girl panties and just GO!

Spring Bloom Macarons by Poppyprint
The flowers in this print inspired my petalled paisley quilting.

The first thing I did was define the vertical columns between the macarons with a stitch in the ditch of the seam and then a line 1/4" away. Between these lines, I did a loopy back and forth thingy that I've always liked - I think it looks great in a long narrow space and on this quilt, sort of like the delicious cream filling for the macarons!  Everywhere else in the negative space I quilted a sort of petalled paisley shape.  In spots where I needed to fill to the edges, I went around with a second row of petals here and there. For now the macarons are not quilted. I'm contemplating a handstitch with coordinating perle cotton about 1/2" inside each macaron (what do you think about that?).

Spring Bloom Macarons by Poppyprint

All of the quilting was done in one long day at Quilt By the Bay on Saturday. I think my Pfaff was running for about 8 hours!  I'm so glad I went for it. It's just been ages since I filled so much negative space with FMQ and to be honest, I've seen so much incredible work from talented long-armers, that I had psyched myself out.  I'm happy to say that this finish has renewed my confidence, so yay!

Spring Bloom Macarons by Poppyprint

Amanda's fabric makes the prettiest macaron's don't you think? Strawberry, lemon, blueberry, pistachio and raspberry flavours come to mind.  There have been so many pretty makes with this line already. Check out the other stops on the tour to see some adorable little dresses, colourful quilts, pillows and bags. I'm excited to see Felicity's quilt tomorrow and was super impressed by Cindy's cool idea from yesterday!

If you'd like a chance to win a FQ stack of Spring Bloom, leave ONE comment here (your comment must contain your email address, or link to your email to win). I'll choose a random winner  on Thursday at 10:00 p.m. PST. Good luck!!  ETA: Comments are now closed. Congratulations Janet of WhatComesNext, you've won a FQ set of Spring Bloom!

Thank you so much for sharing your lovely fabric, Amanda and Windham!


SPRING BLOOM MAKERS BLOG HOP SCHEDULE


April 23 Jessica Darling


May 2 Bella Caronia Blog That’s a Wrap

Tuesday, February 19, 2013

Luminescence Defined

My Lipari Cosmic Star is complete.  Prepare yourselves for this stunning transformation. A couple of weeks ago I shared this photo:

Traceyjay's Cosmic pattern - by Poppyprint

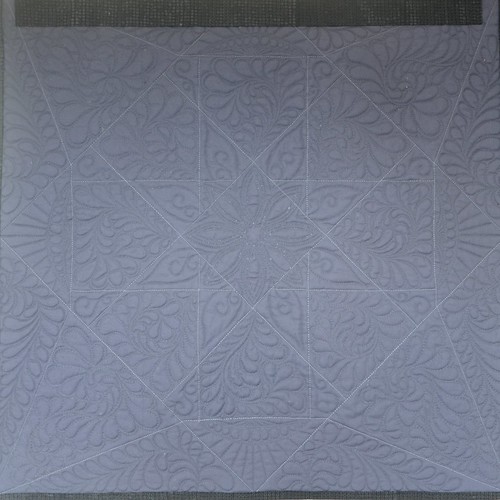
I let you know that my friend Janet of WhatComesNext? was busy working her free-motion feather magic on the quilt.  We spoke briefly about the quilting, but I let Janet know that I trusted her and wanted her to enjoy the process.  I've seen enough of Janet's work to know this quilt was in very capable hands!  I knew it would be amazing. I knew it would be awesome. I'm just not sure I knew it was going to be so ridiculously, perfectly, mindblowing.  Even if feathers are not your cup of tea, you cannot deny that this quilting literally, and figuratively, makes the quilt.  Check this out:

Cosmic Lipari

Other bloggers have written how difficult it is to capture the true luminescence of shot cottons, and especially the Liparis which are shot with black thread. They behave like silk in natural light and bounce a lot of light. I upped the contrast and saturation a bit on that photo above to best highlight the quilting for you.  Here are some close ups of Janet's beautiful work.

Cosmic Lipari

Cosmic Lipari

Cosmic Lipari
The central design was over-stitched with a silver metallic thread.

As you can see, I bound the quilt with the same tone on tone black batik as the background because I didn't want any attention drawn away from that star. Here's a shot of the back so you can have an idea of all the stitching and see how perfectly it is distributed. That is a hanging sleeve you see across the top.

Cosmic Lipari - the back

I feel like my role in this quilt was pretty small actually, so I'm going to take a few lines to shout out my appreciation to everyone involved. Thank you to Lynne and Michael Oakshott for the opportunity to sew with these gorgeous cottons. I did use Mary Ellen's Best Press prior to cutting out those big wedge-shaped pieces and the oakshotts held the bias edge beautifully.  These cottons press crisp and retain their sheen!  Thank you Tracey for your easy-to-piece pattern that I will definitely make again. And thank you Janet, for taking this small quilt to stratospheric heights with your incredible quilting skills.