Showing posts with label glue-basting. Show all posts

Monday, September 14, 2015

Stepping Stones Table Runner Samples & Teaching

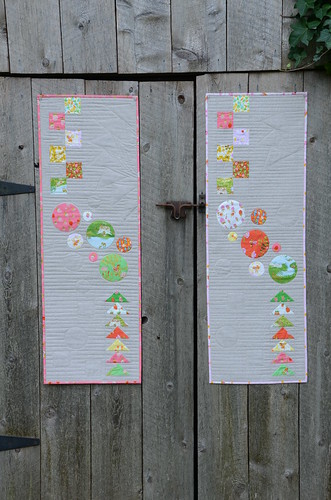
This fall is very busy with trunk shows!  I'm having a great time visiting many local guilds sharing the projects from Make It, Take It with traditional and modern quilters alike.  The table runner that I pieced for the book was quilted by Krista Withers, so after Quilt Market and my spring trunk shows I sent her that one because I knew she loved it and well, she's awesome so she should have it!  I needed to make another and why make one when you can make two?!

Stepping Stones Table Runners by Poppyprint

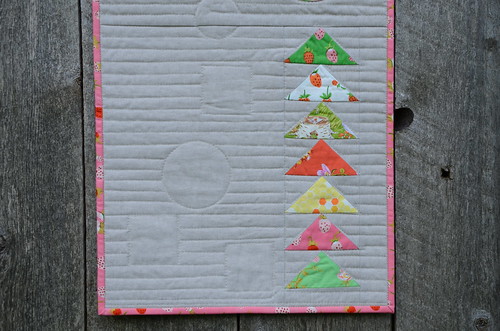
The combination of Essex linen and Briar Rose used in the original runner was just too sweet to pass up, so I kept everything pretty much the same when I made these two new ones. The runner sews up quickly - it is so fun to make!  I was anxious to try straight line quilting using Krista's Ghost Shape Quilting instructions in the book. PLUS, I treated myself to a new Juki TL2010Q over the summer and I figured this would be the perfect small project to give it a go.
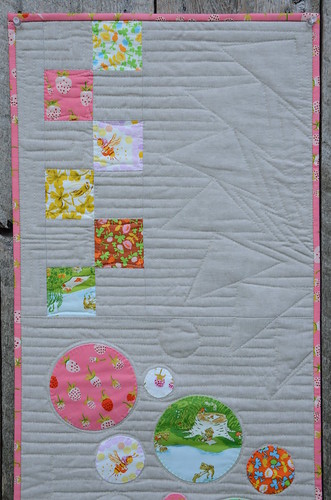
Stepping Stones Table Runners by Poppyprint

Stepping Stones Table Runners by Poppyprint

Unfortunately, the walking foot that came with my machine was a dud and I was unable to use it. After some online research and an S.O.S. call on Instagram, I was advised by several other Juki users to just go for it and quilt using the regular sewing foot with the presser foot pressure turned right down to the lowest setting (in other words, almost no pressure on the foot). Walking foot be damned!  (Note: my dealer arranged for an immediate replacement walking foot to be sent directly from Juki and I have received it, but not yet tried it).
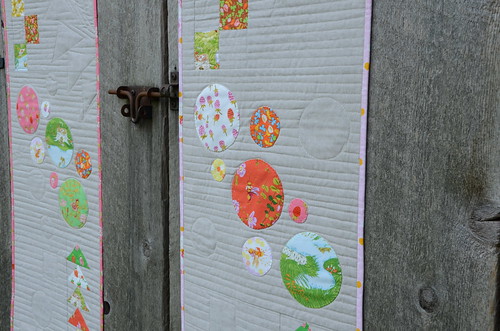
Stepping Stones Table Runners by Poppyprint
The circles are machine appliqued using my "Fabric Stickers" method described in my Crop Circles Table Runner tutorial on the left sidebar. I used a shortened & narrowed blind hem stitch to secure them to the quilt top.

The results were pretty darn good considering I didn't use a walking foot. Some of the straight seams show signs of drag, but I can live with that. On the second one, I stabilized those longer seams between blocks and beside the pieced sections with stitch in the ditch.  Ultimately, I'm just picky and would prefer longarm results with a home machine, which just isn't going to happen. I'm trying to lighten up and find satisfaction in a job done the best that I can do with the equipment that I have.
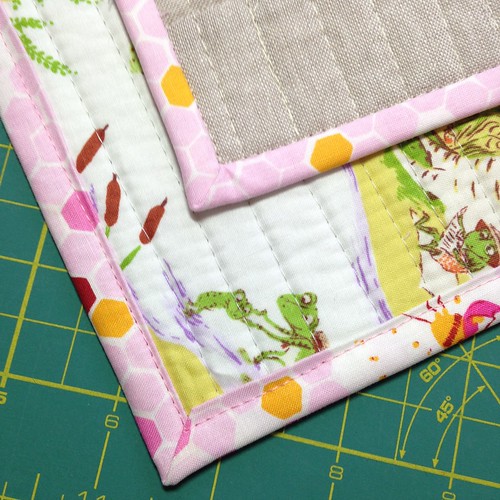
Machine binding on my Juki

Where the Juki totally rocked was the binding. I applied my regular 2 1/4" double fold binding to the front of the runners, then pressed it to the back, mitering the corners. Using Roxanne's Glue-Baste-It and a dry iron, I basted the binding to the back.  Then, still using the regular sewing foot I slowly and carefully stitched in the ditch from the front. The machine performed beautifully, even with the uneven thickness of fabrics under the foot (6 layers of binding fabric plus quilt sandwich under the right side of the foot and only the quilt sandwich under the left side of the foot).  With my Pfaff, the snap-on "stitch in the ditch foot" regular popped off when I tried to do this.

I'll be keeping one of these runners for my trunk shows (two more this week!) and gifting the other one soon. If you are a quilting teacher, I highly recommend this project as a complete beginner quilting class that includes: rotary cutting techniques, accurate piecing, flying geese construction, machine applique, quilt basting, marking & straight line quilting and binding.  Check out the copyright statement in Make It, Take It - as long as your students each have a copy of the book, you're welcome to teach any of the projects. Please do!


Friday, August 29, 2014

Uhm, You Missed a Spot

A couple of weeks ago I had the pleasure of visiting Thormanby Island again. My generous friend A invited our little gang of island-hopping quilters that usually descend on Mayne Island every February for a retreat. As you can imagine, our February weekends are almost always spent indoors, enjoying the cozy sewing room while buckets of cold winter rain fall outside.  Let me just say that our August weekend together had 90% more sunshine and about 20 degrees of Celcius more to enjoy (as an August weekend should!).

image
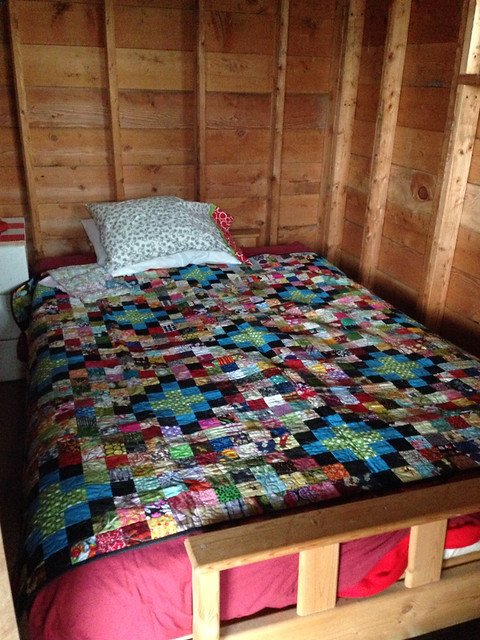
The perfect cabin quilt!

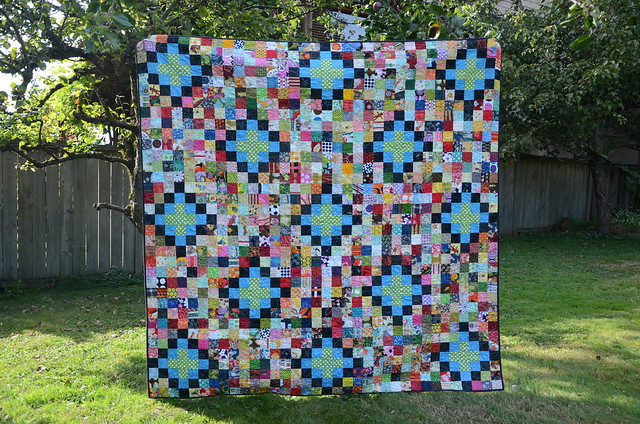
It stood to reason that I should bring along my almost finished scrap vomit quilt - which, by the way, I will now refer to as the Scrapalicious quilt. This quilt has been over a year and a half in the making (actually I've pieced two of these tops and have enough squares cut to make a few more!).

  • Katy's fab tutorial for the quilt is here
  • See my Anti-Voodoo piecing tutorial for making sure your squares make it from the design wall to the machine in the right order using a method I learned years ago from a favourite quilting teacher. This works for efficiently piecing blocks into a quilt top as well.
  • A post including a pic of the second top I've pieced with different coloured "B" blocks is here 
Back in February I'd finished the quilting and attached the binding while on Mayne.  As I do with all large quilt bindings, I pressed the binding to the back and temporarily secured it with tiny dots of Roxanne's Glue-Baste-It.  Hand-sewing the binding has been a hit and miss 'whenever I feel like it' activity for months and it needed to just. get. done. I figured if I brought the quilt along to sleep under, I could finish off the binding in the daylight hours while sitting on the sunny deck. Which I did. Wearing a bikini. OMG. That's all I'm saying about that.

Scrapalicious by Poppyprint

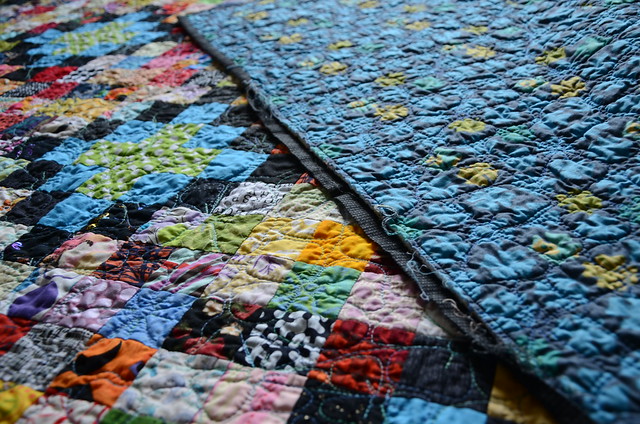
And then I came home and washed the quilt. When I pulled it from the washer and saw batting and frayed thread, I had a momentary coronary event thinking that something had ripped the quilt, until my brain registered that, in fact, I had missed sewing down about 20" of binding!!! So, yeah, I missed a spot. Oops.

Scrapalicious by Poppyprint
Scrapalicious: the Full Frontal

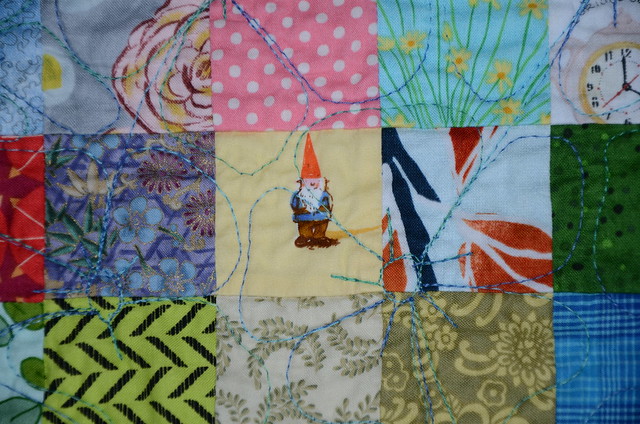
So, although you've seen several iterations of this quilt from blocks, to top, to quilted top, now it is finally complete, washed and folded on the back of our family room couch for everyone to enjoy.  Even this little gnomey.

Scrapalicious by Poppyprint

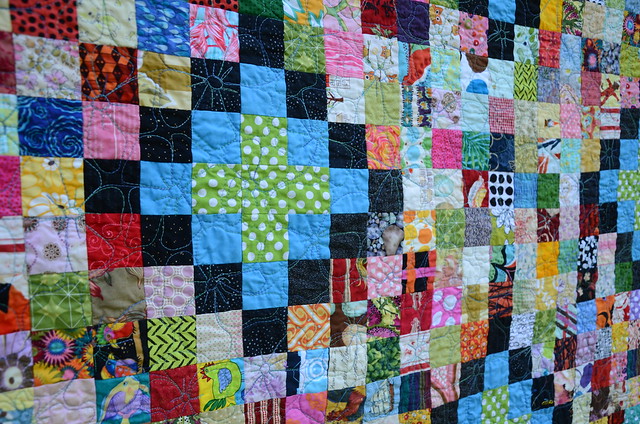
I free-motion quilted it in an all-over interlocking flower pattern that I learned last year in a FMQ class with local teacher Lynne Fanthorpe.  I had so much difficulty with the Sulky 40wt thread I was using - it was breaking constantly and driving me mental with stopping/starting and burying threads. I finally had to abandon it from frustration but when I resumed quilting at Mayne my friends helped me discover that the variegated spool I was using was simply 'bad thread'. It broke with a gentle tug! I had pulled my hair out and came very close to tears thinking that my machine, the tension, the batting, the many needles I tried, or my skills were to blame. I've never experienced bad thread before. Luckily, I had a second spool of the exact same brand and colour variegation that I purchased on the same day as the offensive spool. The second one worked PERFECTLY FINE. Bizarre. 

Next time I'm sticking with Aurifil thread and less involved quilting. I'll also do a more careful check of the binding before my quilt gets its first wash!

Scrapalicious by Poppyprint