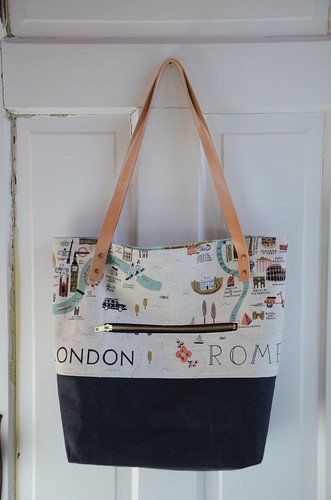
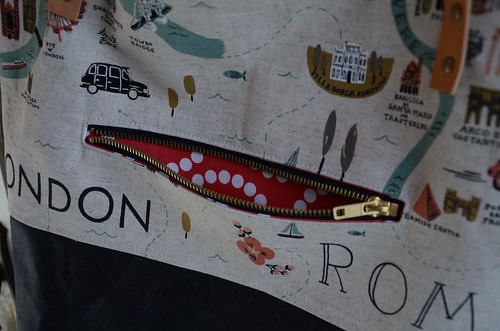
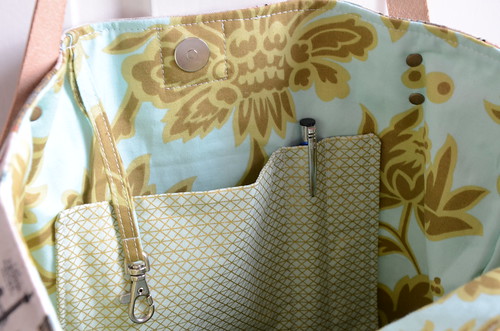
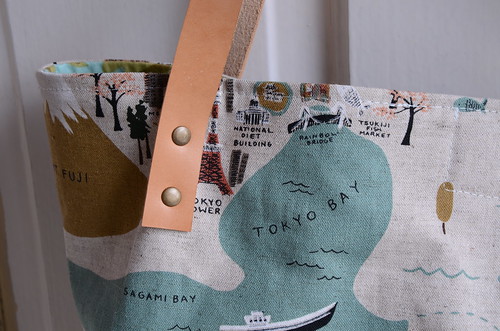
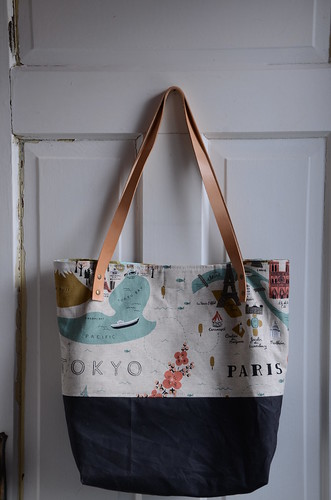
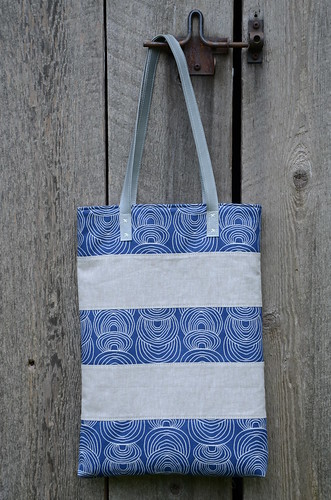
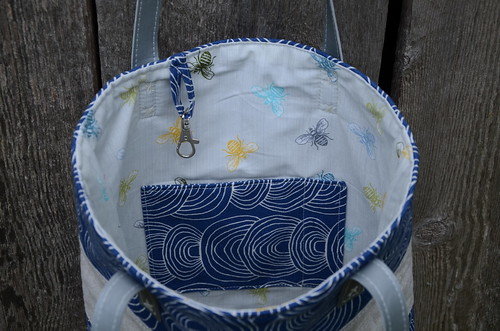
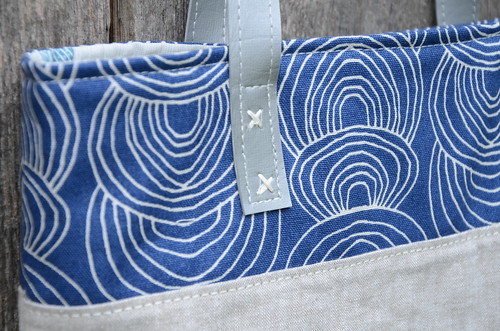
To help launch 2022 and what will (hopefully) be a return of my creative energy after a very long pandemic-induced hiatus, I'd like to share this free canvas tote tutorial with you! This also coincides with the City of Vancouver's long-awaited plastic shopping bag ban. If you can sew a straight line, you can make this simple pattern. The tote is unlined, but has French seams, a wrap around strap and no bottom seam for extra strength. Simple canvas totes are currently super popular with high school and university students; keep this in mind as a great gift for the student in your life, or their teachers!
If you would like to make totes from this pattern and sell them at a home crafter's (i.e. non-commercial) scale, please purchase the comprehensive Licensed The Tote Tute .pdf pattern from my Etsy shop for the awesome low price of $12 Cdn.
If you purchase the crafter's license pattern, you will receive an invitation to join me in a 90-minute Tote Tute ZOOM sew-in from 10 a.m. to 11:30 a.m. on Sunday, February 27th! In addition, for a limited time, everyone is welcome to use the code POPPYPRINT for a 15% discount on lightweight 1˝ cotton webbing, Tula Pink webbing and zippers, charms and pulls at Zipper Valley! They will be bringing in 1˝ wide seatbelt webbing the first week of February if you'd like to wait for that. If purchasing strap materials from Zipper Valley, you'll need to buy 4 yards and put a note on your order that you need a continuous cut.
This tutorial is mostly photographic. It is not a difficult project and doesn't require that much in the way of fabric. In fact, you can make 2 totes from just one yard of canvas if your pocket is from the same fabric as the main body of the tote.
SUPPLY LIST
17" x 34" cotton canvas for main tote body
7" x 14" cotton canvas for pocket
120" continuous cut of nylon or cotton webbing 1" wide for strap
1" square cork label, scrap or 1" hemmed fabric scrap
coordinating or contrasting 40 wt thread
90/14 topstitch needle
glue stick
NOTE: This tote is made from one long piece of canvas folded in ½ to avoid a bottom seam. If you have directional fabric, it will be upside down on one side of your tote. This is the same for the pocket, but you can place the upside down part on the inside of the pocket where it won't matter.
Prepare the Pocket
Fold the pocket piece right sides together, aligning the 7" raw edges. Sew the 7" top of the pocket with a ¼" seam allowance. Press open. Turn right side out and press the top seam and bottom fold.
Baste the sides closed and topstitch the top edge of the pocket by sewing up one side, across the top seam and down the other side with an ⅛ ˝ seam allowance.
Prepare the Tote
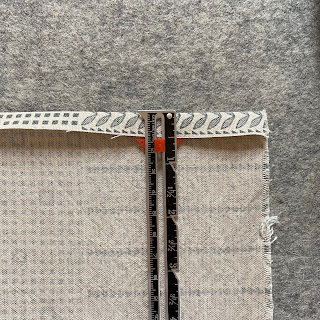
Hem the two 17˝ edges of the tote fabric. Turn under ½˝, press. Turn under another 1˝ and press again. Pin the folds in place. Topstitch both folds from the wrong side with an ⅛˝ seam allowance. I use a very skinny topstitch foot on my Juki for this task (you can see it in the photo below).
Now fold the tote in ½, bringing the hemmed edges together at the top. Press the bottom fold to leave a crease, so that you know where the centre of the bottom is when you create the gussets later.
Attach the Pocket
Pin the pocket to the centre front of the tote with the top of the pocket 4˝ down from the top hem of the tote (make sure you pin through just one layer of the tote!). Attach the pocket to the tote by sewing down one side, across the bottom and up the other side with an ⅛˝ seam allowance, backstitching at the top edges of the pocket for extra strength.
Attach the Strap
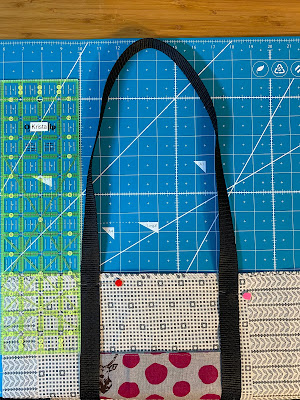
Pin the strap to the tote beginning about 1˝ below the right bottom corner of the pocket, overlapping the raw edges of the pocket by about ⅜˝. I use a 4˝ ruler to help keep the strap parallel to the edge of the tote.
Leave a 12" handle at the top of the tote, taking care not to twist the strap as you bring it back onto the tote. I lay the tote on my cutting mat with the top edge on the 6˝ line and make sure the apex of the strap is at the 18˝ line. Bring the strap back down the other side of the pocket and off the opposite hemmed edge, making the second handle. You are effectively making one giant loop of strap on the right side of the tote.
Trim the strap ends so that they butt together without overlapping. If using nylon, you may wish to run a lighter over the ends (in a well ventilated area) to burn the edges and prevent fraying.
Topstitch along both edges of the strap with a 1/16˝ seam allowance.When you reach the hemmed edges of the tote, sew a 1" square with an X in the middle for extra strength. You may have to double sew a line or two as you work your way around the square and X. Pivot with your needle down when changing direction at the corners. I don't mark anything. I just overstitch the hem seams as a guide for the square.
With a gluestick, affix a 1" scrap of cork or label over the strap ends and topstitch in place with a 1/16˝ seam allowance. I ordered my logo labels in Canada from
Brickbubble.
French Seams
With the tote right side out, pin the sides and sew with a scant ¼˝ seam allowance.
With a ruler and rotary cutter, trim any fraying threads from the seam allowance. Press the seam open.
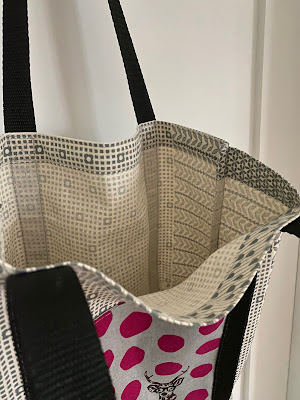
Turn the tote inside out and press the side seams. Pin in place and sew the side seams, backstitching at the top, with ⅜˝ seam allowance. This will fully enclose and protect your previous seams.
At the bottom corners of the tote, mark a 1 ½˝ square bordered by the side seam stitches (NOT THE SIDE OF THE TOTE) and the bottom fold (check the ruler lines in the photo below).
Cut out the square on the marked lines. Take a moment to reinforce the side seam where you cut the stitches with a few back and forth stitches.
Turn the tote right side out. At both bottom corners, bring the side seam and bottom crease together and pin, forming the gussets. Sew with a ¼˝ seam allowance.
Turn the tote inside out. Press the gusset seams, pin in place and sew with a ⅜˝ seam allowance, enclosing the previous seam. If your presser foot is struggling to sew over the bulk at the side seam, you may need to use a humpjumper. Please see my instagram highlights @poppyprint for a humpjumper how-to. Backstitch at the beginning, at the side seam stitches and at the end for extra strength.
Turn your tote right side out. YAY, YOU'RE DONE!
If you share your work on socials, let folks know that you used my tutorial and give me a tag so that I can stop by with a virtual high five! If you have questions, please email me directly using the email address in the upper left sidebar. I can no longer reply to blog comments.
HAPPY PLASTIC-FREE SHOPPING, FRIENDS!