Showing posts with label bias. Show all posts

Saturday, May 14, 2016

Geode - a Mini Quilt

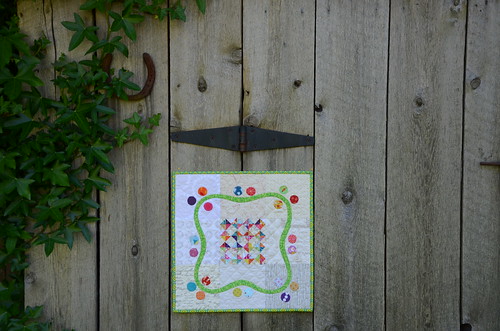
This sweet little expression of colour reminds me of the crystals you find inside a geode.  On the outside, a geode is typically a non-descript round-ish grey rock. However on the inside, if you are lucky when you smash it open with a hammer, you discover a tiny magical world of perfect crystals. Typically quartz (often purple amethyst), calcite or dolomite crystals form over hundreds or even thousands of years as water trickling through a cavity in the ground leaves behind the mineral components as crystalline deposits.

DSC_1162

I was starting to feel like this little project was taking a geologic amount of time to complete. After all, it is only 15" square and it has been two years in the making!  Why do we do this to ourselves? Delay finishing a project when really, there is only another hour or so required to get it done? If you've got a better answer than good old fashioned procrastination, please share so that I can learn and stop doing this!

DSC_1159

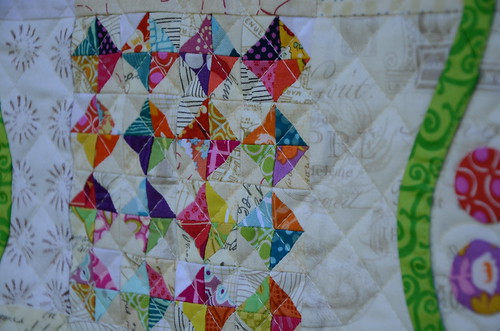
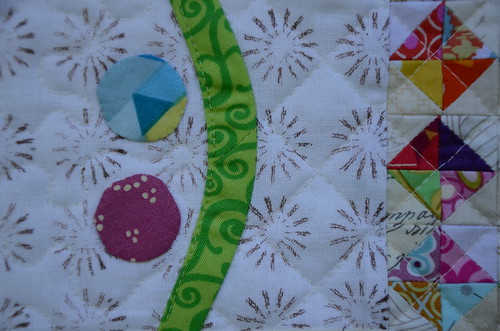
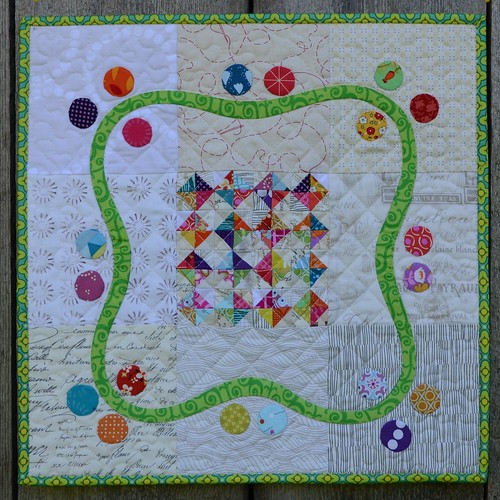
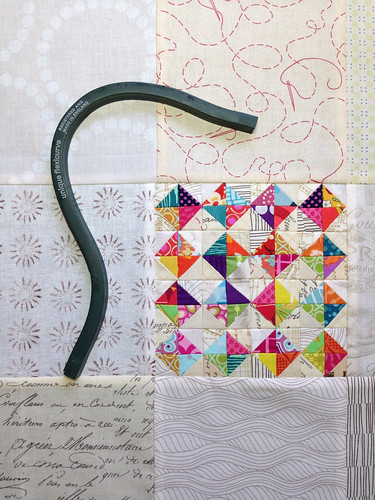
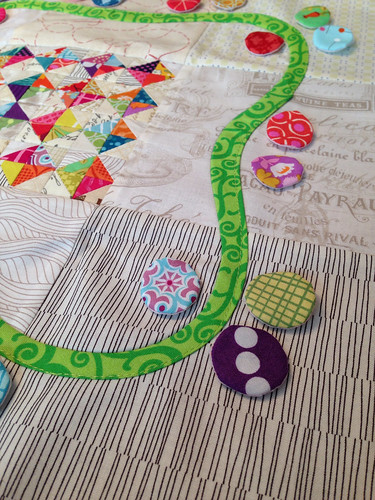
The center block of 'crystals' are teensy little two-fer triangles cut off the corners of this project. Each half square triangle measures 1/2" finished.  I pieced them together to form colourful little square in squares without an overall quilt design in mind.  Next, I created a 9-patch by adding low volume squares around the crystal block. I even used a precious piece of poppyprinted white linen I found in my scrap drawer. Gradually, more ideas came to me and I settled on the green bias tape (appliqued using this method) to frame the little block. I used a flexible curve ruler to draw the wiggly shape on the low volume background fabrics with a pencil (the line is covered by the tape when it is folded over).

DSC_1160

Realizing the quilt wasn't yet finished, the tiny circles were hand-appliqued on. Then this poor little quilt top sat for over a year. Sometimes on my design wall. Sometimes thrown over a pile of other fabric on top of a cabinet. Many times folded up and brought to retreat, only to remain folded up until I got home.  FINALLY, last week Geode made it to the basting, quilting and binding stage. Phew.

Geode by Poppyprint

This little gem (couldn't resist) is going in the mail as a reciprocal thank you gift for a special friend who surprised me with her generosity once. 

Monday, July 21, 2014

Itsy-Bitsy, Teeny-Weeny, Yellow Polka-dot....

...half square triangle.

image

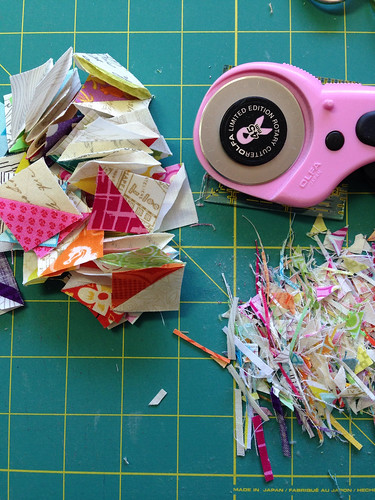
While working on another project that will remain under wraps for a while yet, I decided to save my twofers (that's what I call the corner triangles that you cut off when doing stitch and flip triangles on the corner of larger squares or rectangles like snowballs or flying geese). These ones are very small, and I trimmed them up to 1 1/8" square after piecing them with their low-volume backgrounds.  

I'm in the market for a mini-quilt gift for a friend so I figured this made a good starting point. Without a real plan, I sewed the tiny half-squares together to create an on-point checkerboard. After that, 6" squares of low volume prints (including one of my old poppyprints) were added as a large border.

image

I still had a little pile of the jewel tone scraps lying on my cutting mat, so thought about ways to use them on this border. I've been admiring a lot of applique on IG lately and have been thinking about a little project to have on hand for stitch sessions with friends.  I envisioned a curvy vine around the patchwork with some appliqued berries scattered around.  I dug out my late FIL's old Flexi-curve from his graphic design supplies (which we still keep in a rolling cart: french curves, circle and oval templates, T-squares, india ink, pigma pens, Lettraset...etc) and marked out the curve with a Frixion pen.

image

I used this technique to machine applique the bias vine, matching the raw edges of the folded bias strip with the drawn line.  The 1" berries were prepared this way (except I used a thread spool and stamp pad to mark the circles on the fusible interfacing).  

image

My next step is to fuse them to the background and have them all ready to stitch down at tonight's annual outdoor meeting of the VMQG.  I'm not sure where this mini-quilt is headed after that...but maybe someone will have an idea at tonight's meeting. That is the wonderful thing about stitching with friends: there is never a shortage of great ideas!